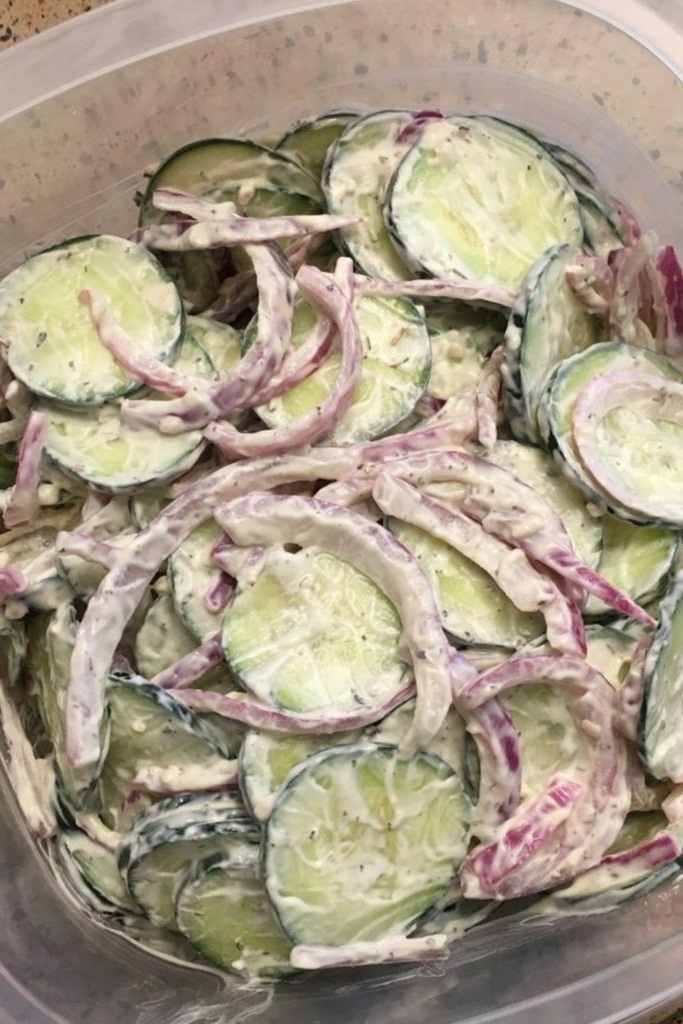
I’ve had this dish many times at cookouts and potluck dinners, but this is the first time I made it.
Ingredients:
1 cup sour cream 1/4 cup sugar 2 tablespoons tarragon vinegar 1 teaspoon dill weed 1/2 teaspoon salt 1/4 teaspoon black pepper 4 large cucumbers peeled, sliced thin 1 large white onion sliced very thin
Directions:
In a mixing bowl, whisk together sour cream, sugar, vinegar, dill, salt and pepper.
In a separate large mixing bowl, toss together cucumbers and onions.
Pour sour cream mixture over cucumber/onion and mix together.
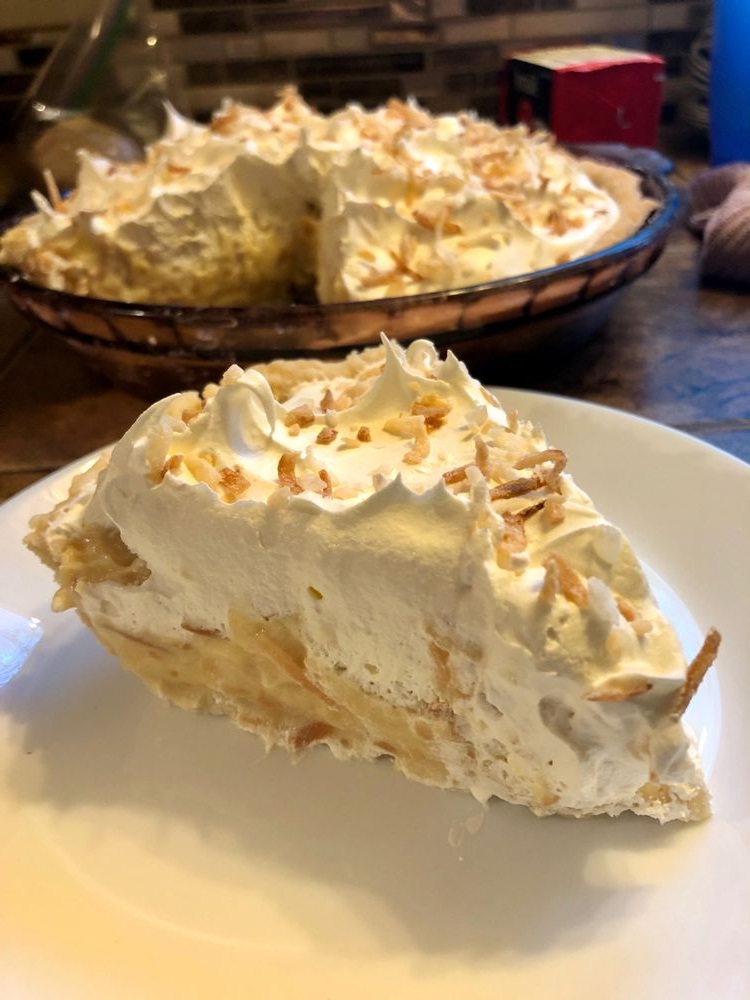
I love this Pie so much! I can’t count how many times I have made this since the first time it was introduced to me by my dear friend. Oh, man, you have got to give this one a try! Feel free to add more ingredients if you prefer. I have listed all the ingredients and directions so all you need to do is to follow them step by step and you are good to go. Enjoy!
Ingredients: 1 (9 inches) pie shell, baked 1 (5 oz) package instant vanilla pudding mix 1 ½ c milk 1 ½ c flaked coconut 1 (8 oz) container frozen whipped topping, thawed
Directions:
Step 1: Add the milk and pudding mix into a large mixing bowl. Beat until well combined and the texture becomes thick.
Step 2: Add 1/2 of the non-dairy whipped topping and 1 cup of coconut. Stir until well combined.
Step 3: Transfer the mixture over the prepared pie crust and spread it evenly.
Step 4: Add the rest of the non-dairy whipped topping over the crust and spread it evenly.
Step 5: Sprinkle the rest of the coconut on top of the whipped topping.
Step 6: Place it inside the fridge to chill for a few hours.
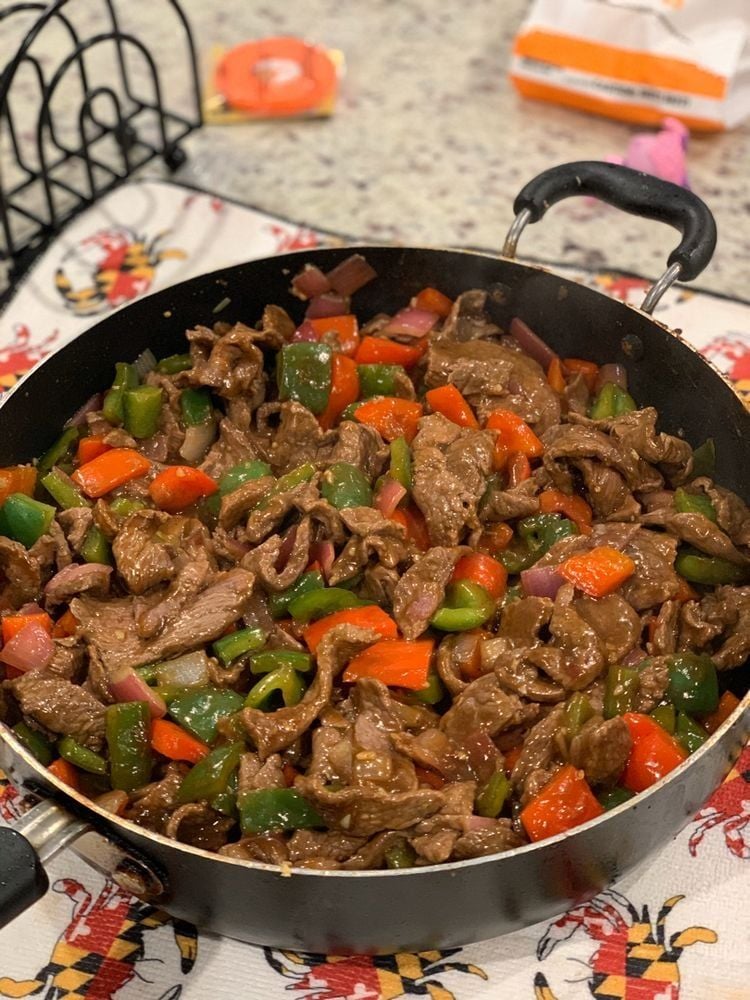
Pepper Steak Stir Fry has melt in your mouth flank steak with bell pepper in the most amazing sauce. This is a restaurant quality meal that you can make in less than 30 minutes!
Pepper Steak Recipe Can you hear that sizzle?! That is the sound of deliciousness being cooked up! While cooking you will notice your family gathering around you enjoying the aroma of this sweet and spicy dish. I was noticing how quickly my family was drawn to the kitchen this evening when I was making this meal for the first time. It was fun to enjoy their company while I was making this quick and simple meal that only takes minutes to prepare. Forget the restaurant and get more flavor with this sizzling dish!
Ingredients 2 tbsp olive oil divided 1 red bell pepper cut into 1 inch cubes or strips 1 green bell pepper cut into 1 inch cubes or strips 8 ounce 8 ounce flank steak sliced in strips against the grain 3 garlic cloves minced ¼ cup brown sugar packed ½ cup soy sauce low sodium 2 tsp sesame oil 1 tsp ground ginger 1 tbsp cornstarch
Instructions In a medium sized skillet or wok over medium high heat add 1 tablespoon olive oil. Add the bell peppers and cook 1-2 minutes until tender. Remove and set aside on a plate.
Turn the heat to high and add the flank steak and cook on each side to sear the beef and reduce heat to medium high and continue to cook until no longer pink and brown on each side.
In a small bowl, whisk the garlic, brown sugar, soy sauce, sesame oil, ginger and cornstarch.
Add the peppers back to the skillet and add the sauce. Let simmer for 1-2 minutes until the sauce starts to thicken. Serve over rice.
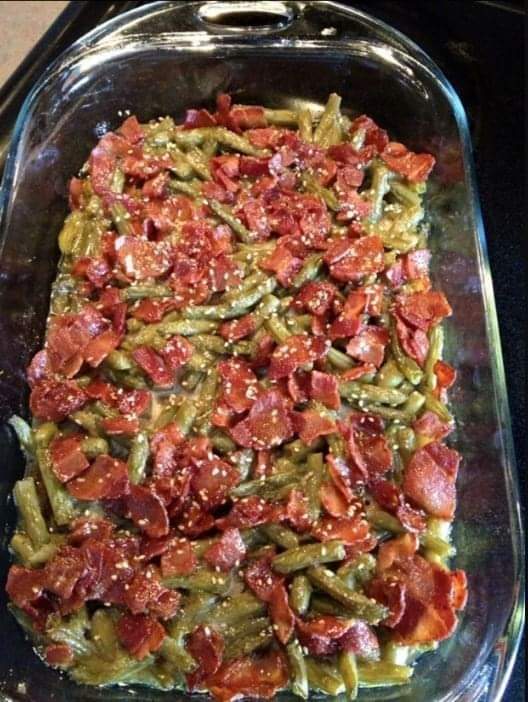
If you’re looking for a mouthwatering side dish to complement your meal, look no further. CRACK GREEN BEANS are the answer to your culinary dreams. This irresistible recipe combines the savory goodness of bacon, the sweetness of brown sugar, and the umami of soy sauce to create a dish that’s both simple to prepare and incredibly delicious. In this article, we’ll guide you through the process of making CRACK GREEN BEANS, step by step. Get ready to elevate your green bean game!
Ingredients:
To make CRACK GREEN BEANS, you’ll need the following ingredients:
INGREDIENTS
QUANTITY
Green beans (canned or fresh)
5 regular cans, drained
Bacon
12 slices
Brown sugar
2/3 cup
Butter (melted)
1/4 cup
Soy sauce
7 teaspoons
Garlic powder
1 1/2 teaspoons
Instructions:
Step 1: Preparing the Beans
Start by preheating your oven to 350°F (175°C).
Take the drained green beans and place them in a 9×13-inch baking pan.
Step 2: Adding the Bacon
Next, cook the bacon until it’s crispy. You can do this in a skillet or the microwave, depending on your preference.
Once the bacon is cooked, break it into small pieces.
Step 3: Making the “Crack” Sauce
In a separate bowl, combine the brown sugar, melted butter, soy sauce, and garlic powder. Mix these ingredients thoroughly to create the “crack” sauce.
Step 4: Assembling and Baking
Now, it’s time to assemble your CRACK GREEN BEANS. Sprinkle the bacon pieces evenly over the green beans in the baking pan.
Pour the “crack” sauce over the beans and bacon, ensuring that everything is well-coated.
Place the pan in the preheated oven and bake for 40 minutes. This will allow the flavors to meld and the beans to become tender.
After baking, give the beans a gentle toss to distribute the flavors evenly.
Step 5: Serving
Your CRACK GREEN BEANS are now ready to serve. Transfer them to a serving dish and watch as they disappear in no time.
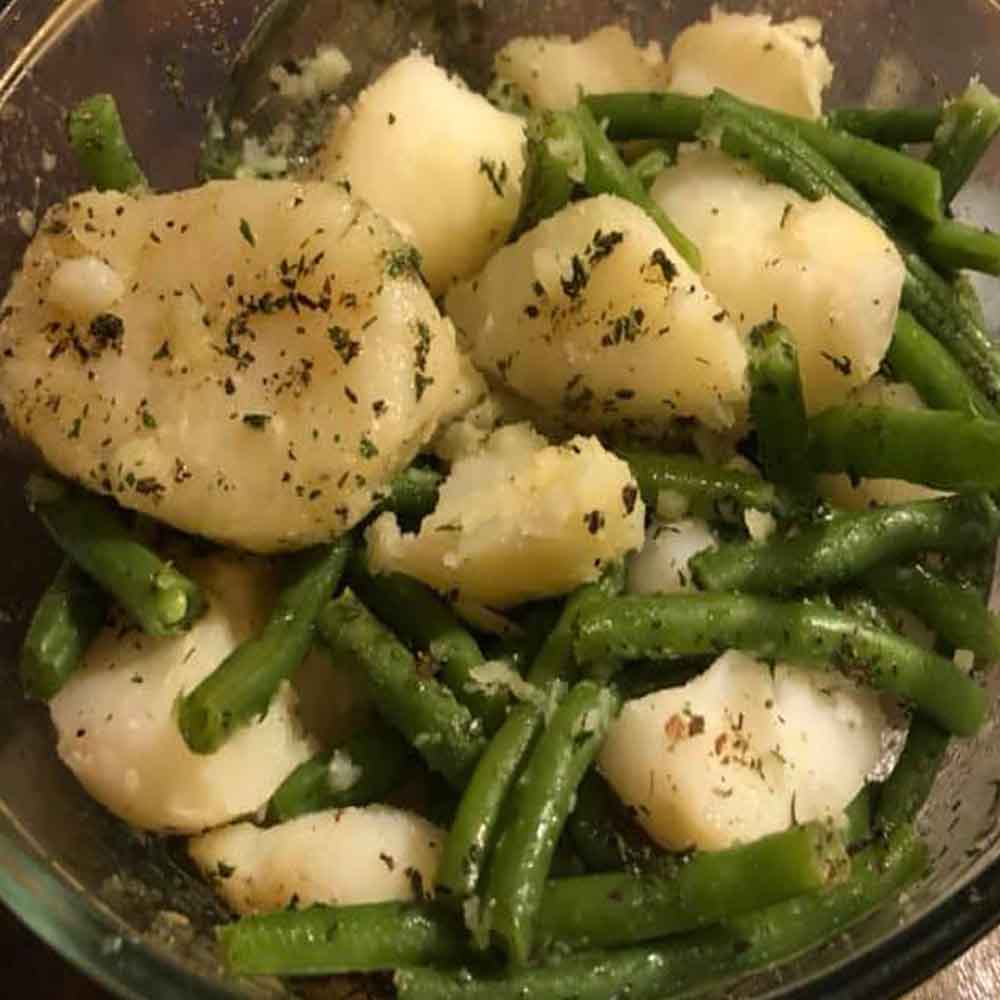
Potato and green bean salad. You don’t need to peel the potatoes, do what you prefer. I cut my potatoes to bite size and boiled them until ready. Be sure to use fresh green beans or frozen – skip canned. I use green bean steamers (12 oz). You could use a sweet onion, like vidalia, in place of the red or green onion, or in addition. Add more veggies if you like. A sweet oil and vinegar dressing would be great. Sandi makes her salad ahead of time and chills it overnight. I made my salad and served it right away. I had leftovers and added a little more dressing when serving it the next day.
Ingredients: 4 cups potatoes, cooked – use your favorite variety of potato – cut bite size 1 pound of green beans, cooked (cut to bite size if you like) 3 green onions, chopped 1 small red onion, chopped small 1/2 teaspoon oregano (or your favorite herb blend with oregano) 2 cloves of garlic, pressed salt & fresh cracked pepper to taste See also Mini Chicken Salad Sandwiches
Dressing: The recipe calls for Newman’s Own Olive Oil & Vinegar Dressing. You can also make your own or use your favorite vinegar and oil dressing from the store. I have used Good Seasons Zesty Italian Dressing – excellent on this salad too!
In a small bowl or jar, pour desired amount of dressing (at least 1/3 cup) and add the pressed garlic and oregano to the dressing and mix.
Instructions:
1 ) Place cooked potatoes, green beans and onions in a large bowl.
2 ) Add desired amount of the oil and vinegar dressing mixture, lightly toss.
3 ) Salt and pepper to taste. Chill in fridge or serve immediately. Enjoy!
If you’re lucky, you spend at least 8 hours on your mattress every night. This leaves plenty of time for sweat, dust, and dead skin to seep into your sheets and mattress. Your bedding is pretty easy to clean, but do you know how to clean a mattress yourself?
No need for a cleaning company to clean or remove your mattress, whether it is a futon, the mattress of a sofa bed, or a single mattress, or a large format 160/200, you can very well and easily undertake this task. By carrying out regular and proper maintenance of your mattress, it will last much longer!
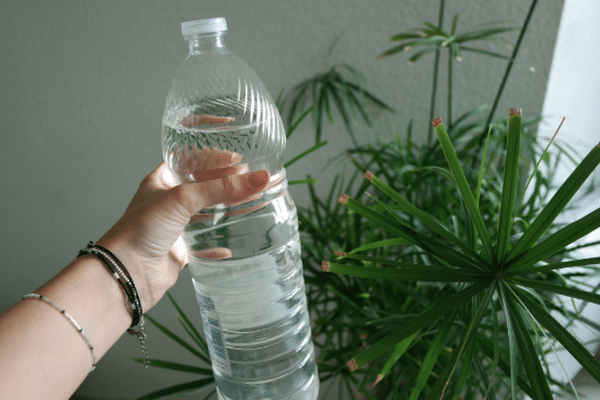
1 – CLEAN A MATTRESS WITH WHITE VINEGAR This solution is undoubtedly the most ecological, think about it if the others seem too aggressive to you!
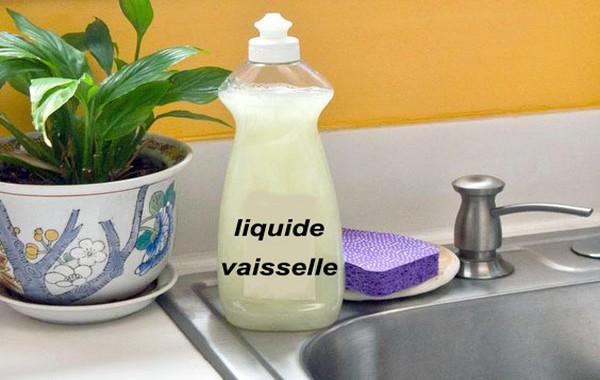
The recipe: in a basin, mix 500 ml of white vinegar and 2 tablespoons of dishwashing liquid with 200 ml of lukewarm water.
Instructions
Clean: soak a sponge with this solution then wring it out. Rub the surface of the mattress with it, proceeding in squares of 20 cm on each side. Rinse: with a glove moistened with clean water. Dry: use a dry washcloth, which you will rub over the entire surface of the mattress. Did you know ? White vinegar also exists in gel form, which is very practical to use.
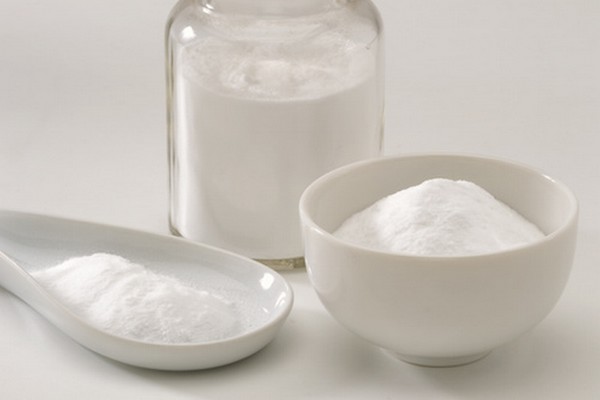
2 – CLEAN A MATTRESS WITH SODA CRYSTALS To do this, wear gloves and start by reading the manufacturer’s instructions for use. This is a powerful disinfectant that will allow you to tackle difficult stains.
In 2 liters of hot water, mix 2 tablespoons of soda crystals. Impregnate a sponge with this mixture, making sure to wring it out well, then rub your entire mattress with it, proceeding area by area so as not to forget any. Then rinse with clear water, always using a sponge or wrung out cloth. Finally, you can dry your mattress with a dry cloth or with a hairdryer set to a temperature that is not too hot.
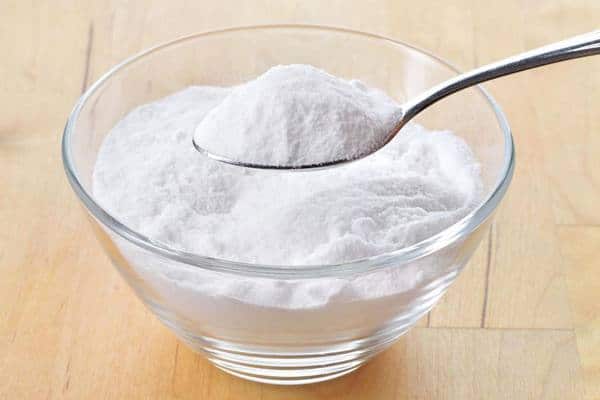
3 – CLEAN A MATTRESS WITH BAKING SODA
Of course, you can’t put a mattress in the washing machine, but you can remove stains and odors with baking soda. Here’s how to deep clean a mattress with this home remedy.
Get rid of stains with a thick paste of baking soda and water. Spread a thick layer over the stain and let it dry for about an hour to help remove the stain from the mattress. Remove the dried powder with your vacuum cleaner. Stubborn stains can be removed with baking soda and vinegar. Sprinkle a layer of baking soda over the stain. Using a spray bottle, spray white vinegar onto the stain. As you see, the chemical reaction causes bubbling and the stains will be removed. Let it dry and remove the residue with a vacuum cleaner. To eliminate bad odors, sprinkle a layer of baking soda all over the mattress. Leave for a few hours, then vacuum.
4 – CLEAN A MATTRESS WITH DISHING LIQUID An essential household product, dishwashing liquid is also frequently used to remove stains from fabrics.
Instructions
Add 3 tablespoons of dishwashing liquid to 1 liter of hot water and stir to obtain a homogeneous mixture. To be applied to the entire surface of the mattress, this very simple mixture presents no danger. Soak a sponge or washcloth in the preparation, wring out thoroughly, and rub, not omitting any area at the risk of creating marks. Rinse with a washcloth in clean water, press towels to absorb moisture, and let air dry.
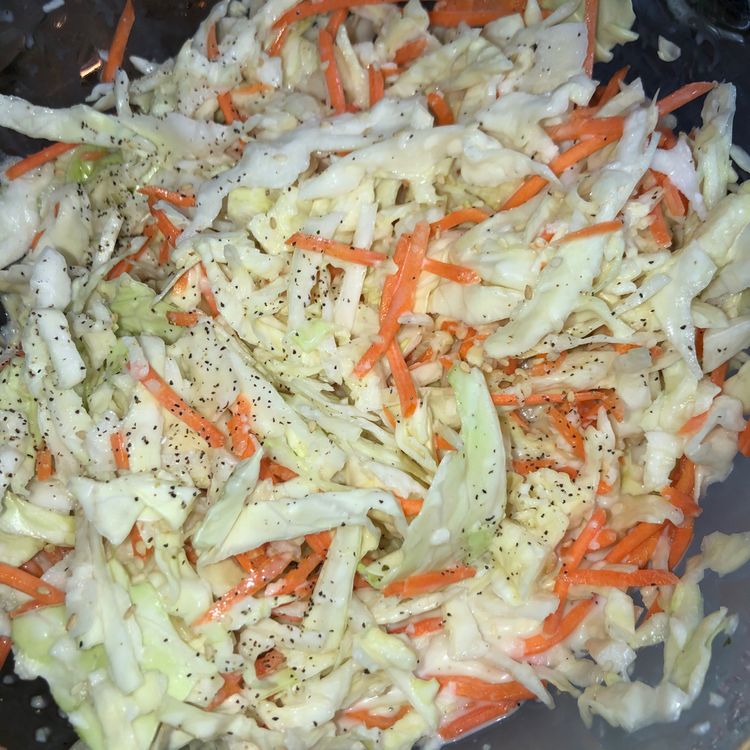
This Homemade KFC Coleslaw is a creamy and savory coleslaw that gives you that favorite takeout coleslaw you know and love. Learn how to make a creamy homemade coleslaw with coleslaw dressing that will win over a crowd.
Ingredients: 1/4 cup buttermilk 1/2 cup mayo 1/4 cup milk 2 tbs lemon juice 1 package cabbage mix 1 1/2 tbs vinegar, white distilled 1/4 cup granulated sugar 1/2 tsp salt 1/8 tsp pepper This homemade KFC coleslaw recipe serves around 6-8 servings.
Instructions: 1 ) Start by adding your buttermilk, milk, white distilled vinegar, lemon juice, sugar, and a dash of salt and pepper in a bowl. Whisk all the coleslaw dressing ingredients until nice and creamy.
2 ) Now you will take your coleslaw mix and chop it up a bit, to give it that chopped coleslaw texture that KFC is known for. You can skip this step if you would like.
3 ) mixture is well combined for this side dish.
4 ) Now take your coleslaw and cover it and place it in the fridge for 4 hours. Remove from the fridge, give a good stir and serve.
Notes: You can make this creamy coleslaw recipe a day in advance of when you plan to serve it. Feel free to shred up a head of lettuce and add slivered carrots to replace the coleslaw bag mix. You can double this recipe if you need to make more to serve a crowd. You have to allow the mixture to sit and marinade or it will not be full of flavor like you want.
Ingredients For fritters: 2 Tablespoons granulated sugar 2 large eggs 1 cup all-purpose flour 2 tsp. baking powder ½ tsp. cinnamon ½ tsp. salt ¼ cup milk 2 tsp. fresh lemon juice 2-3 cups peeled, cored and chopped Granny Smith or Gravenstein apples (firm pie apples!) Vegetable oil for deep-frying (approx. 4-5 cups- enough to come halfway up sides of pan or skillet)
For glaze: 1¼ cups powdered sugar ¼ tsp. vanilla 3-4 tsp. warm water (thin enough to make the glaze “paintable”)
Directions In a large bowl (or the bowl to a stand mixer), cream the sugar and eggs for 1-2 minutes with a mixer. To this, add the flour, baking powder, cinnamon, salt and milk. Mix these ingredients well.
In a separate bowl, mix the chopped apples with the lemon juice. Using a spoon, add the apple mixture to the batter and stir well, to combine. Heat vegetable oil to 375 degrees (use a deep-fry thermometer or use an electric skillet with a temperature control). It is very important to make sure the temperature is hot enough to fry the fritters correctly.
Once the oil is at 375 degrees, scoop out really large tablespoonfuls of the fritter batter (as big as you can get ’em!) and carefully and gently slide the fritter into the hot oil.
When they get to a true golden brown color, carefully turn the fritters over to the other side (I used two spoons to carefully flip them) and continue cooking. (This should take approx. 2-3 minutes on each side).
When the fritters become brown on both sides (you might have to flip them over again to make sure both sides are brown), then you know they will be ready and cooked through.
Using a slotted spoon, remove the fritters, one at a time, to a paper-towel lined (several thicknesses) plate to drain and cool.
To make a glaze for the tops of the fritters, mix together the powdered sugar, vanilla and water in a small bowl until you have a nice “paintable” glaze. Using a pastry brush, brush this glaze over the entire top of the fritter. Let glaze harden slightly, turn it over and “paint” the glaze on the bottom. Place glazed fritters on wire rack; let glaze harden, then serve.
Notes If you do not like glaze on your fritters, the author of this recipe also suggests sprinkling the hot “right out of the fryer” fritters with powdered sugar and cinnamon. For mine, I used the glaze option and they were perfect. Tip #1: These apple fritters are at their very best the first day you make them! Tip #2: If using self-rising flour as substitute for all purpose flour, omit baking powder and salt from the recipe. Tip #3: Once oil cools, strain it, store it in a container in refrigerator to use on another batch!
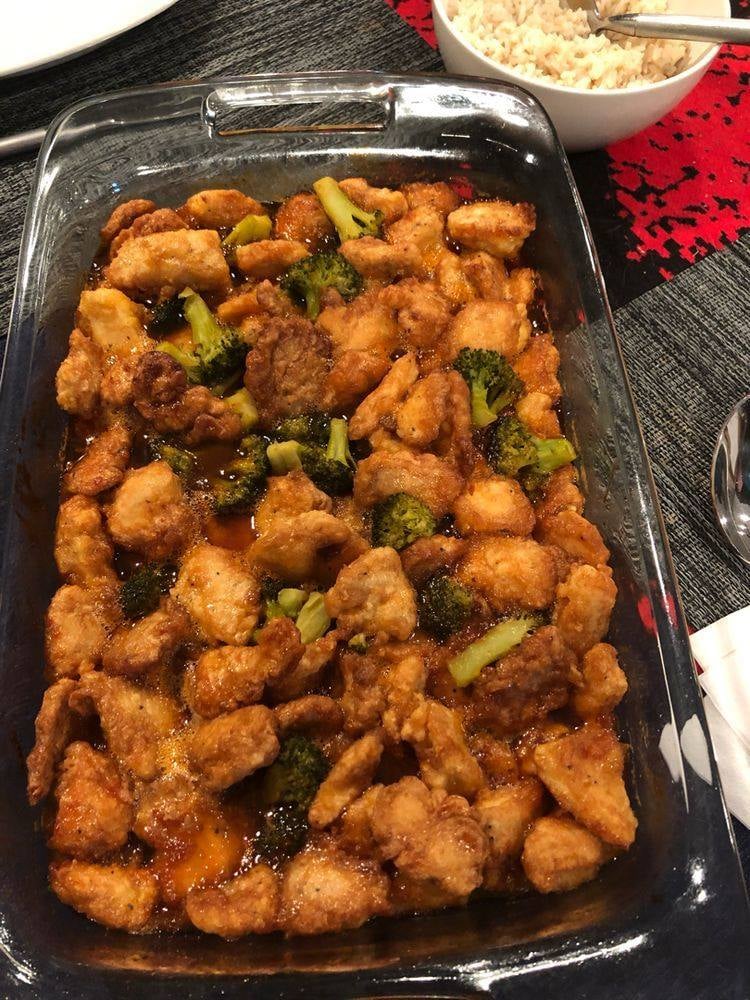
Chicken: 3-4 boneless, skinless chicken breasts (about 2 pounds) Salt and pepper 1 cup cornstarch 2 large eggs, beaten 1/4 cup canola, vegetable or coconut oil
Sauce: 1/2 to 3/4 cup granulated sugar (depending on how sweet you want the sauce) 4 tablespoons ketchup 1/2 cup apple cider vinegar (see note for substitutions) 1 tablespoon soy sauce 1 teaspoon garlic salt
Instructions: Preheat the oven to 325 degrees F. Cut the chicken breasts into 1-inch or slightly larger pieces. Season lightly with salt and pepper. Place the cornstarch in a gallon-sized ziploc bag. Put the chicken into the bag with the cornstarch and seal, tossing to coat the chicken.
Whisk the eggs together in a shallow pie plate. Heat the oil in a large skillet over medium heat until very hot and rippling. Dip the cornstarch-coated chicken pieces in the egg and place them carefully in a single layer in the hot skillet.
Cook for 20-30 seconds on each side until the crust is golden but the chicken is not all the way cooked through (this is where it’s really important to have a hot skillet/oil). Place the chicken pieces in a single layer in a 9X13-inch baking dish and repeat with the remaining chicken pieces.
Mix the sauce ingredients together in a medium bowl and pour over the chicken. Bake for one hour, turning the chicken once or twice while cooking to coat evenly with sauce. Serve over hot, steamed rice.
Notes See the recipe post for a ton of FAQ’s about this recipe (substitutions, etc).
If you like extra sauce, double the sauce ingredients – pour half over the chicken and follow the recipe instructions; pour the other half in a small saucepan and cook the sauce on the stovetop at a simmer for 8-10 minutes until it reduces and thickens. Serve it on the side of the chicken.
Often I’ll sub in rice vinegar for the apple cider vinegar for a milder/slightly sweeter flavor.
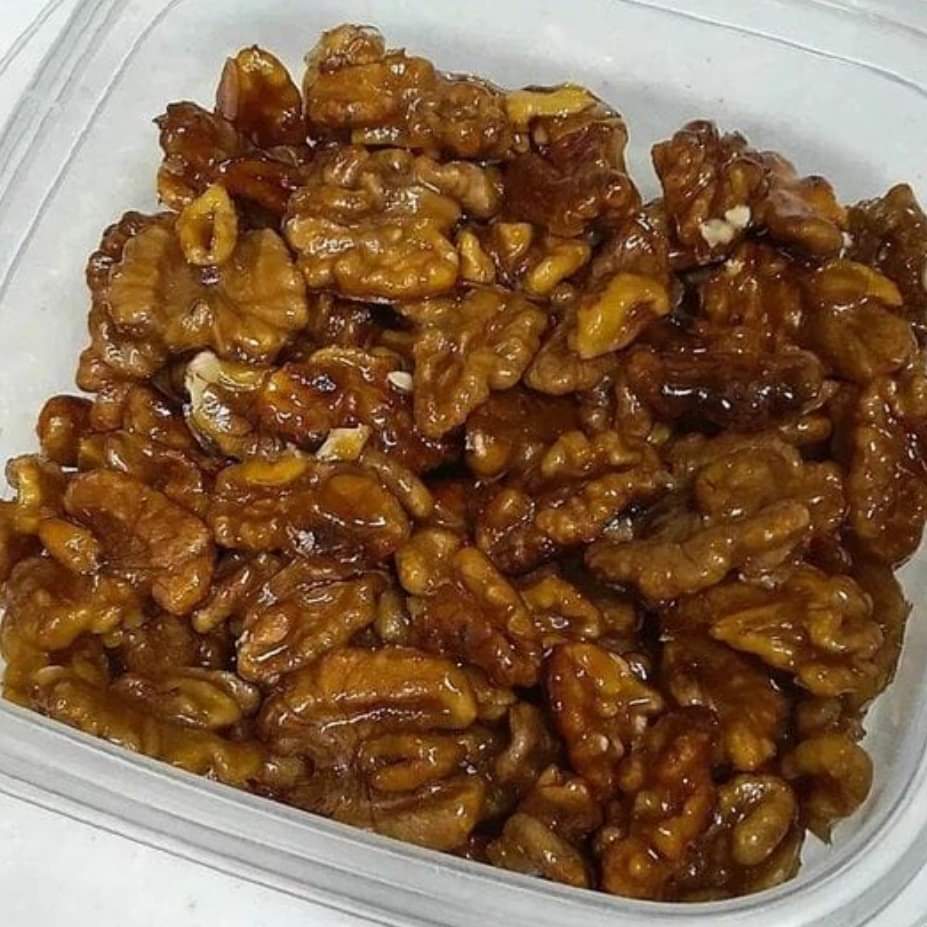
Are you craving a deliciously sweet treat that takes just minutes to prepare? Look no further than the delectable 5-Minute Caramel Walnuts. This quick and easy recipe combines the rich crunch of walnuts with the sweet allure of caramel for a snack that’s perfect for any occasion. Whether you’re hosting a gathering, satisfying your sweet tooth, or simply looking for a delightful snack, these caramel-coated walnuts are sure to be a hit.\
Ingredients:
INGREDIENTS
MEASUREMENTS
Walnuts
1 cup
Golden brown sugar
¼ cup + 1 tablespoon
Water
¼ cup
Unsalted butter
1 tablespoon
Salt
⅛ teaspoon + 2 pinches
Instructions:
The beauty of 5-Minute Caramel Walnuts lies not only in its delectable taste but also in its simplicity. With just a handful of ingredients and a mere five minutes, you’ll have a treat that’s sure to please.1. Prepare the Plate Begin by laying a piece of parchment paper on a dinner plate or a heatproof surface. This step ensures that your caramel-coated walnuts won’t stick and makes the process smoother.2. Combine Ingredients In a medium non-stick skillet, combine all the ingredients except for the salt. The mixture of walnuts, golden brown sugar, water, and unsalted butter will soon transform into a delightful caramel concoction that coats the walnuts perfectly.
3. Heat and Stir
Place the skillet over high heat and stir occasionally for approximately 5 minutes. During the last minute, stir constantly and reduce the heat to medium. This process allows the moisture to evaporate, and the walnuts to become darker, glossier, and form clusters of caramel-coated goodness.
4. Ensure Evaporation
It’s crucial to ensure that all the liquid evaporates before removing the skillet from the heat. This step guarantees that your caramel walnuts will have the perfect texture and flavor.
5. Transfer and Season
Quickly transfer the caramel-coated walnuts onto the prepared parchment paper. Spread them out in a single layer, ensuring each nut is evenly coated. Sprinkle 2 pinches of salt on top of the nuts to enhance the flavor and provide a delightful contrast to the sweetness.
6. Cool and Enjoy
Allow the caramel-coated walnuts to cool to room temperature. Once they’ve cooled, break them apart with your fingers, and witness the beautiful clusters of caramel-coated walnuts. Store these delectable treats in a container, but beware—they might not last long due to their irresistible taste.
Notes: A non-stick pan is essential for this recipe. If you opt for a small non-stick skillet, the cooking time may extend by an additional 30-45 seconds.
5-Minute Caramel Walnuts are a testament to the fact that great flavor can be achieved with minimal effort. This quick and easy recipe brings together the irresistible combination of walnuts and caramel in a delightful treat that’s perfect for any occasion. Whether you’re looking for a delectable snack, a party treat, or a homemade gift, these caramel-coated walnuts are sure to leave a lasting impression. Embrace the simplicity of this recipe and indulge in a treat that offers maximum flavor with minimal fuss.