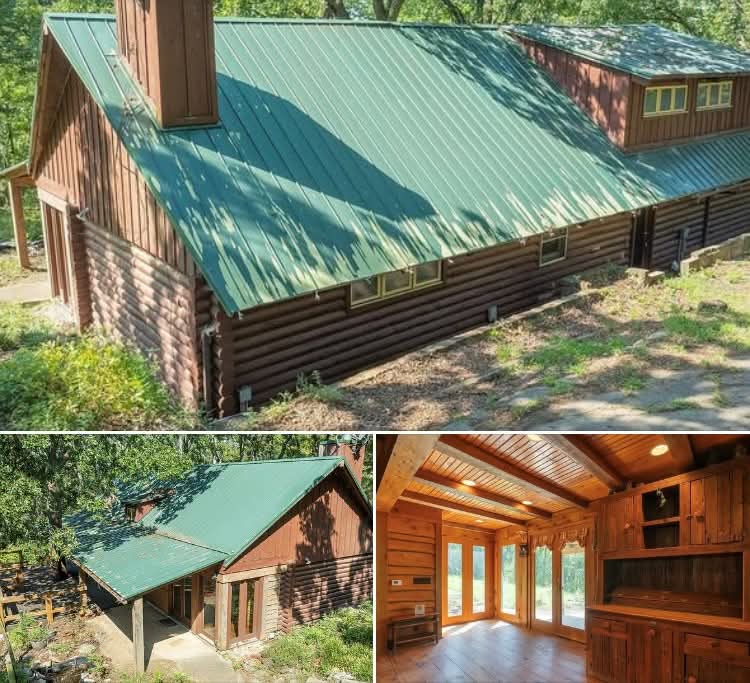
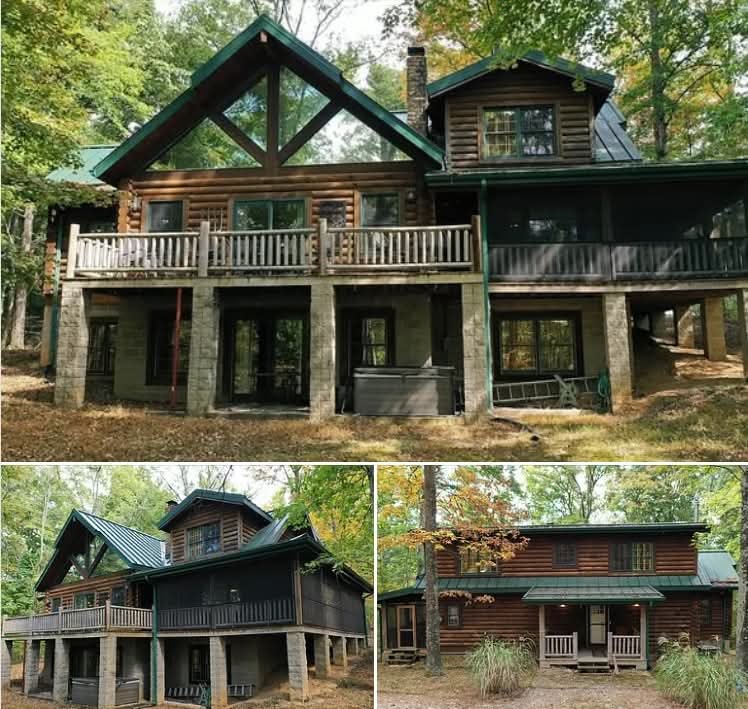
Escape to your own private mountain retreat and experience the tranquility of nature from this inviting 1,506-square-foot cabin, set on 1.95 wooded acres. Surrounded by mature trees and offering peaceful peekaboo views of the valley […]
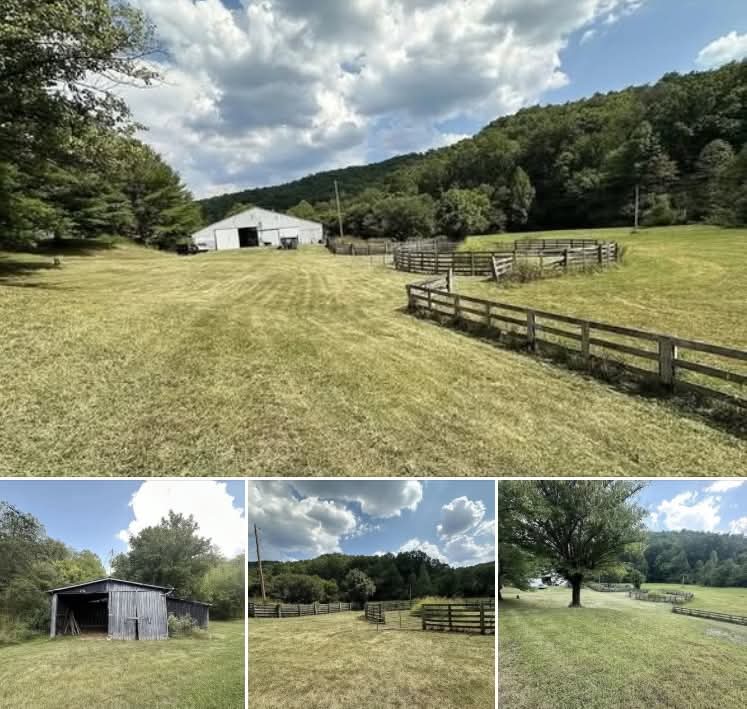
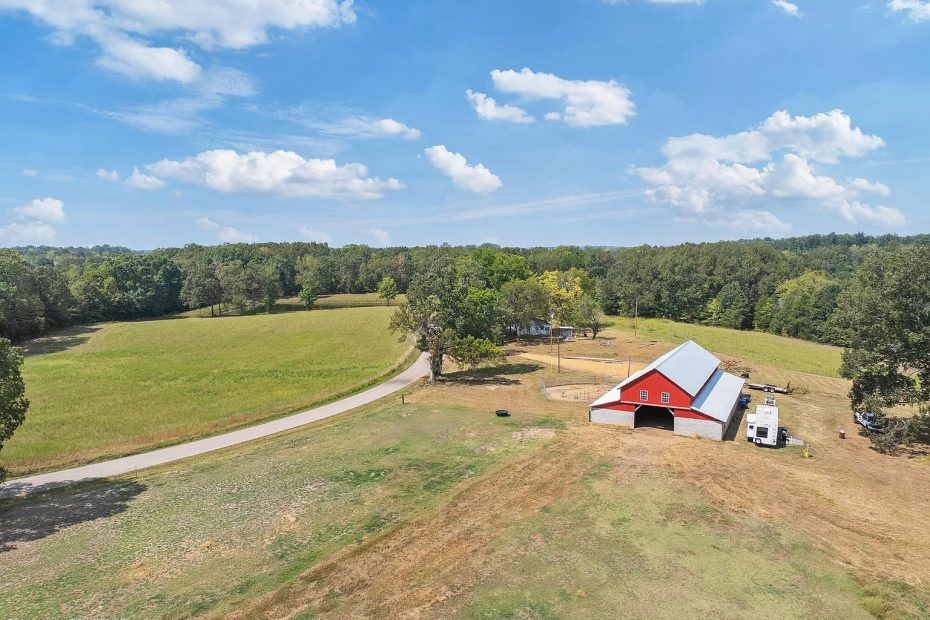
Versatile 60-Acre Farm with Barns, Pastures, and Wooded Land
Discover the exceptional potential of this sprawling 60-acre property in West Liberty, Kentucky, a rare opportunity for buyers seeking privacy, versatility, and natural beauty. Whether you envision a working farm, equestrian estate, recreational retreat, […]
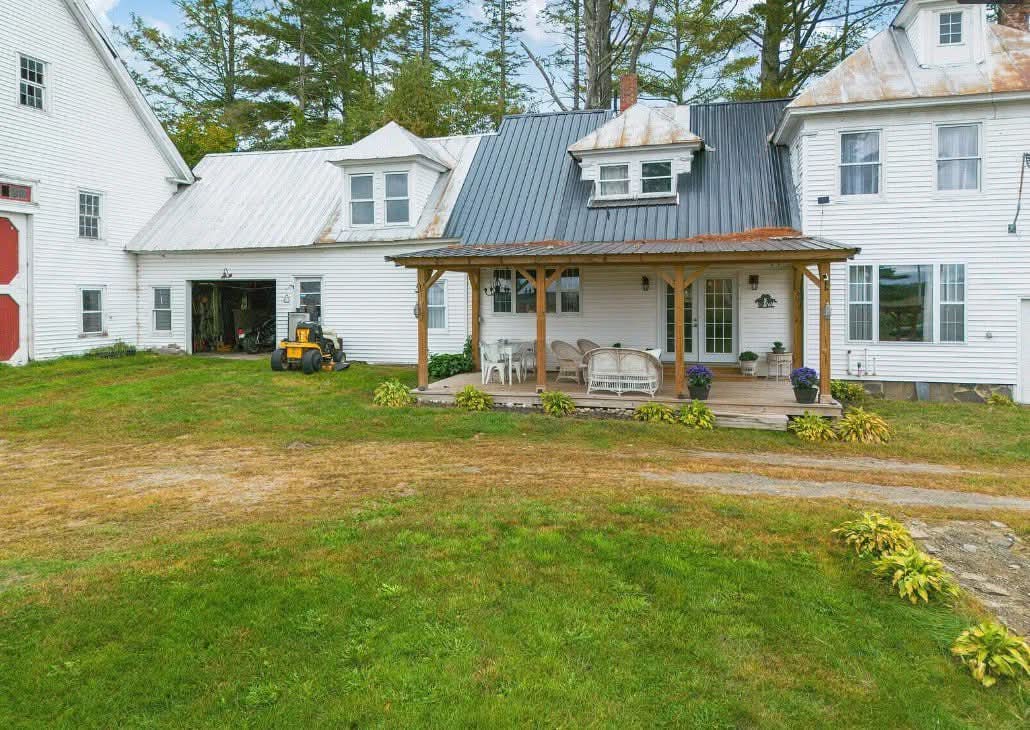
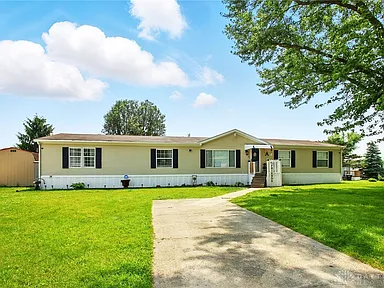
Nice interior! On 12 acres
Set among the rolling hills and tranquil streams of Somerset County lies a true Maine classic — a circa 1900 farmhouse resting on twelve scenic acres in the quiet town […]
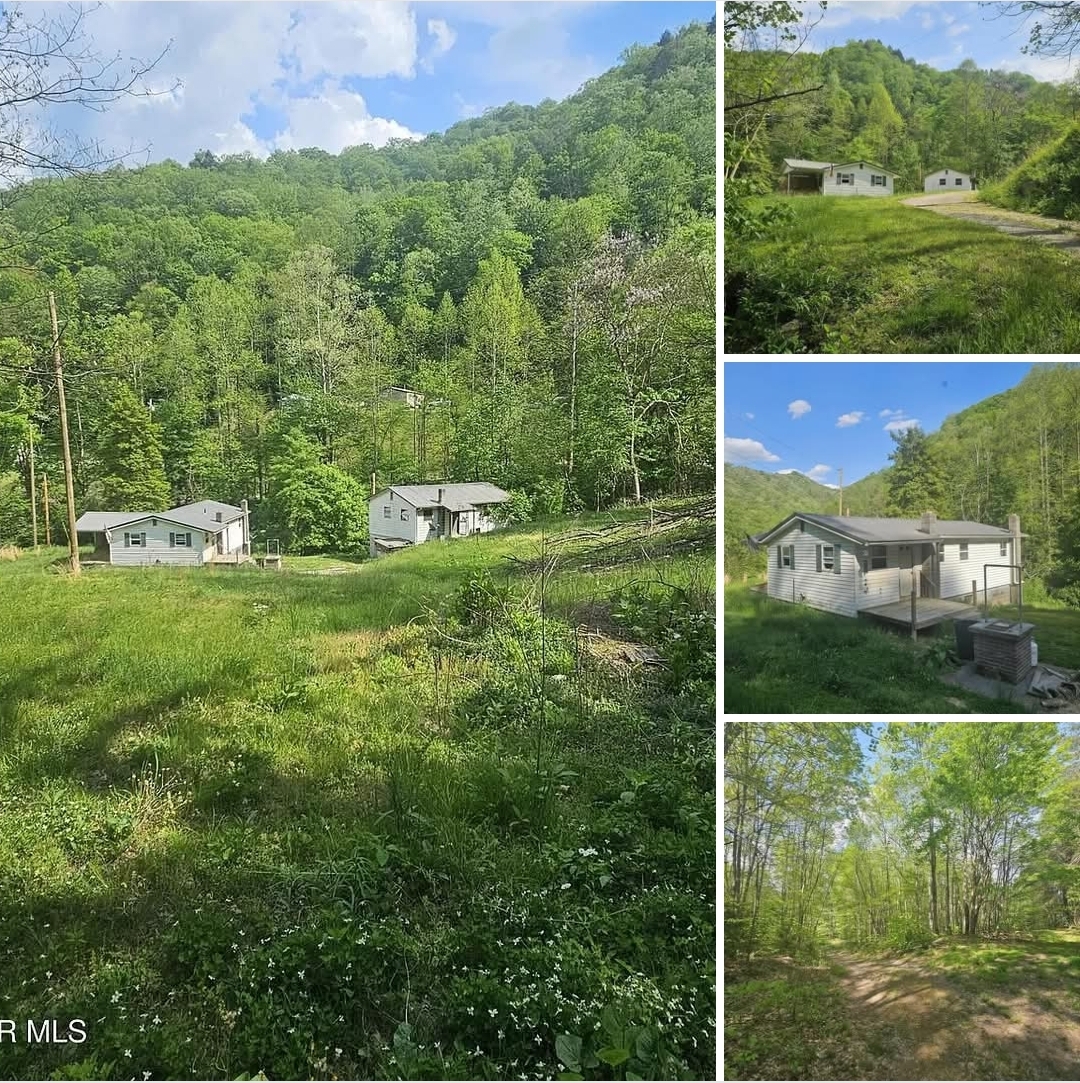
3-Bedroom Home on 110 Acres
Property OverviewLocated in Big Rock, Virginia, this 3-bedroom, 1-bathroom home offers privacy, space, and easy access to nature. Built in 1965, the main house includes approximately 750 square feet of […]
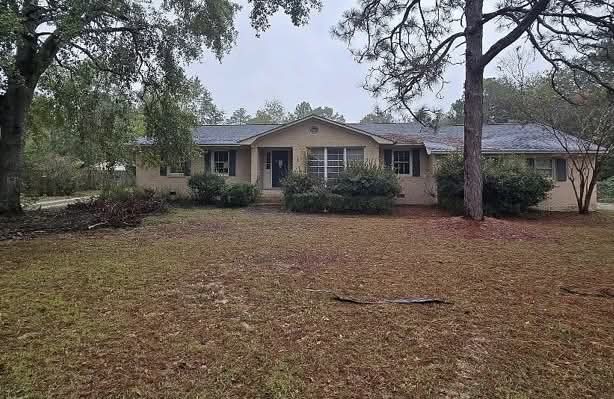
Serene Single-Level Home with Endless Potential
This single-level home in a quiet neighborhood of Lugoff, South Carolina offers three bedrooms and two full bathrooms on a spacious lot, built in 1973. The brick facade and well-maintained […]
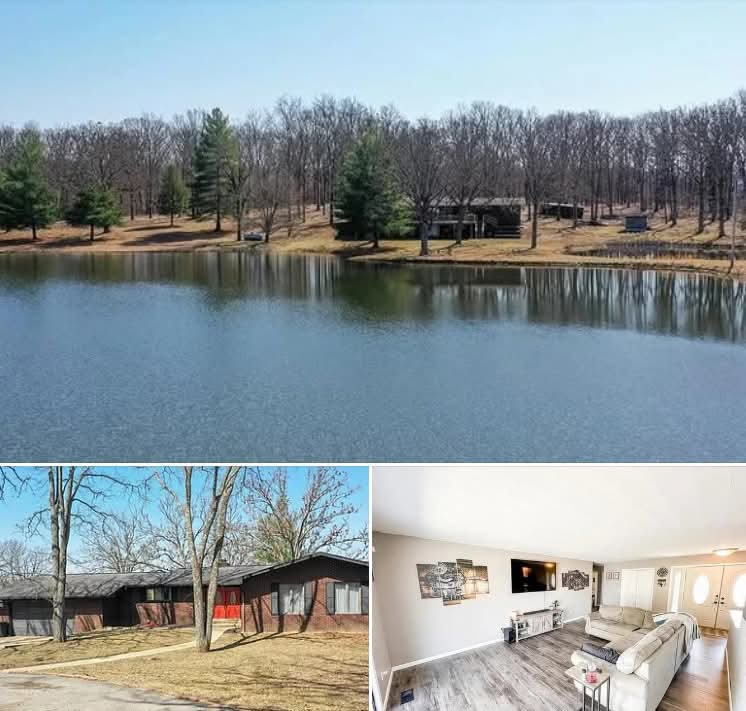
Spacious 4-Bedroom Brick Ranch on 20 Acres with Lake Views
Experience the perfect blend of privacy, outdoor adventure, and modern living with this remarkable brick ranch-style home, built in 1978 and situated on a sprawling 20-acre wooded lot. With 3,456 sq ft of built-up area and 1,728 […]
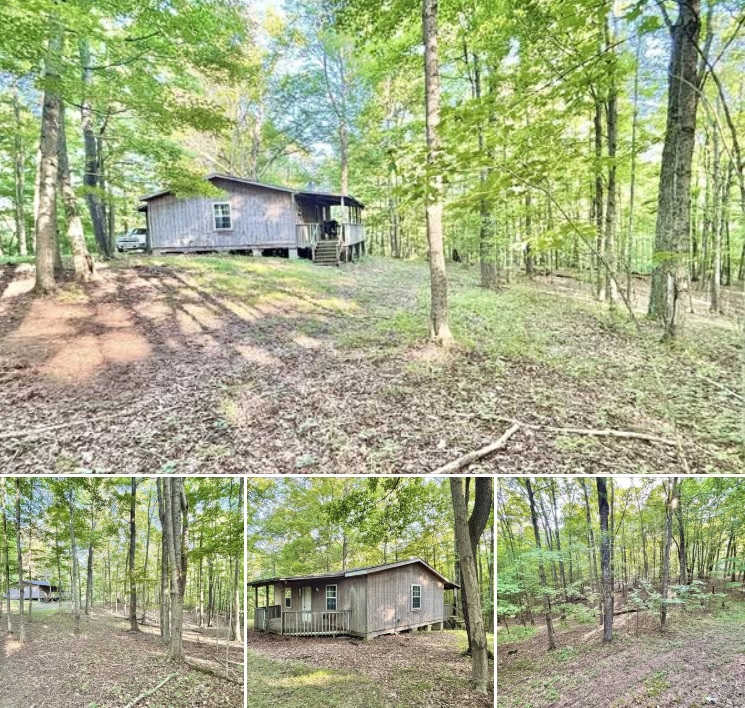
20-Acre Rustic Retreat, Cabin and Endless Outdoor Potential
Nestled in the heart of southern Ohio, this 20-acre property in Vinton offers the perfect balance of rustic charm, outdoor recreation, and peaceful living. Whether you’re looking for a private hunting retreat, a weekend […]
Spacious Private Retreat with Over 43 Acres
Modern Home on Expansive 43-Acre Property in Springfield, Ohio Property OverviewLocated at 4100 Troy Rd #12, Springfield, Ohio, this remarkable estate spans 43.03 acres of versatile land surrounded by peaceful […]
Riverfront Retreat on the Boardman
Luxury Riverfront Living in Northwest Michigan Discover the ultimate escape at this stunning log-cabin retreat nestled along the headwaters of the Boardman River in beautiful Traverse City, Michigan. Built in 1973, this home […]
Property with 52.81 Acres
Versatile Land with Strong Potential This 52.81-acre property in Adamsville supports multiple lifestyles and long-term plans. Moreover, the acreage offers a smooth blend of open pasture and wooded privacy. In […]