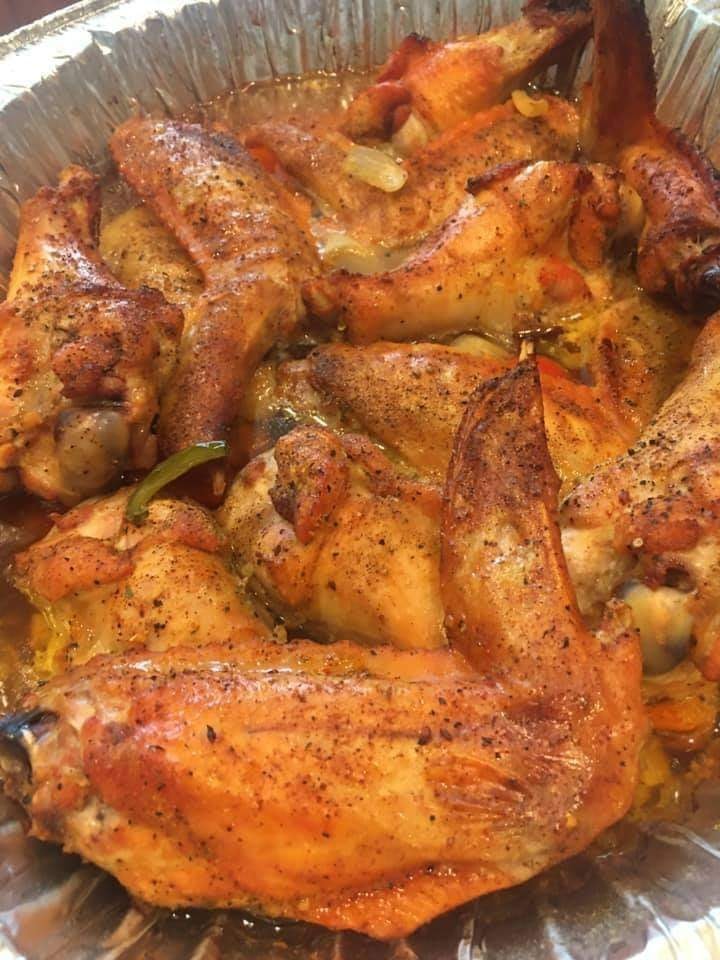
Turkey Wings & Turkey Stock
These turkey wings are baked, not fried. But super crispy and rich tasting. Then use the leftovers to make the best turkey stock ever… perfect for homemade soup or freeze it ahead for holiday cooking.
Prep Time : 5 mins
Cook Time : 1 hr
Total Time : 1 hr 5 mins
Ingredients
- 8 Whole Turkey Wings
- 1/4 cup olive oil
- 3 tbsp poultry seasoning
- kosher salt and pepper to pepper to taste
- carrots, onions, celery, parsley, if making turkey stock
Instructions
- Preheat oven to 375 degrees.
- Place turkey wings in a large casserole dish or on a baking sheet, keeping in mind that the turkey will release its juices and you don’t want them to run over – so it should be a pan with sides!
- Brush both sides of the wings with olive oil. Sprinkle with poultry seasoning, salt and pepper. Cover wings with foil and place them in the oven for 30 minutes.
- Remove wings from the oven, raise the temperature of the oven to 425, remove the foil and put them back in the oven for an additional 30 minutes. This should give you nice crispy wings! Treat these just like you would chicken wings. Toss them in wing sauce, hot sauce, whatever you like. But these are also delicious right out of the oven!!
- MAKE TURKEY STOCK with the leftover bones and pan drippings! Dump pan drippings, leftover bones, and wing stuff into a slow cooker. Add 2-3 carrots chopped into a few pieces, a quartered onion, a handful of parsley, a piece of celery, or any combination of veggie drawer paraphernalia that could possibly go into turkey stock. (This is an excellent way to clear out the vegetable drawer! I have been known to use carrot tops!) Fill the slow cooker to the top with water, set it on low and let it cook all night. The next morning, turn off the slow cooker and let it cool until you can handle the stock without getting burned. Use a kitchen spider (or a slotted spoon) to remove the large pieces of turkey bones and vegetables. Place a strainer or cheese cloth over the top of your Ball or Mason jar and ladle stock into clean jars. The strainer will remove any leftover bits that you don’t want in your stock. Put the lids on the jars and place them in the fridge or the freezer. The amount of stock you end up with will depend on the size of your slow cooker. I have a gigantic one and put away more than 3 quarts of the most flavorful turkey stock, made from things that I would have otherwise put in the trash. Bring on holiday cooking!! I am ready!